





How to Report Phishing in Outlook: Step-by-Step Guide

If your staff do not know how to report phishing in Outlook, suspicious mail sits in inboxes longer than it should. That matters because Microsoft says phishing or social engineering now initiates 28% of breaches, and AI-driven phishing campaigns are three times more effective than traditional ones according to the Microsoft Digital Defense Report 2025.
For most Microsoft 365 teams, the best answer is simple: make reporting a suspicious email a one-click habit in Outlook, then make sure those reports actually reach Microsoft, your security team, or both. The button is already built into supported Outlook clients, and Microsoft documents the workflow for desktop, web, and mobile clients across its support and Learn sites.
At Falconer Security, we keep running into the same practical problem: organizations buy Defender for Office 365, but users still forward suspicious emails to the helpdesk or leave them unread because nobody showed them the reporting flow. The tooling is there. The habit usually is not.
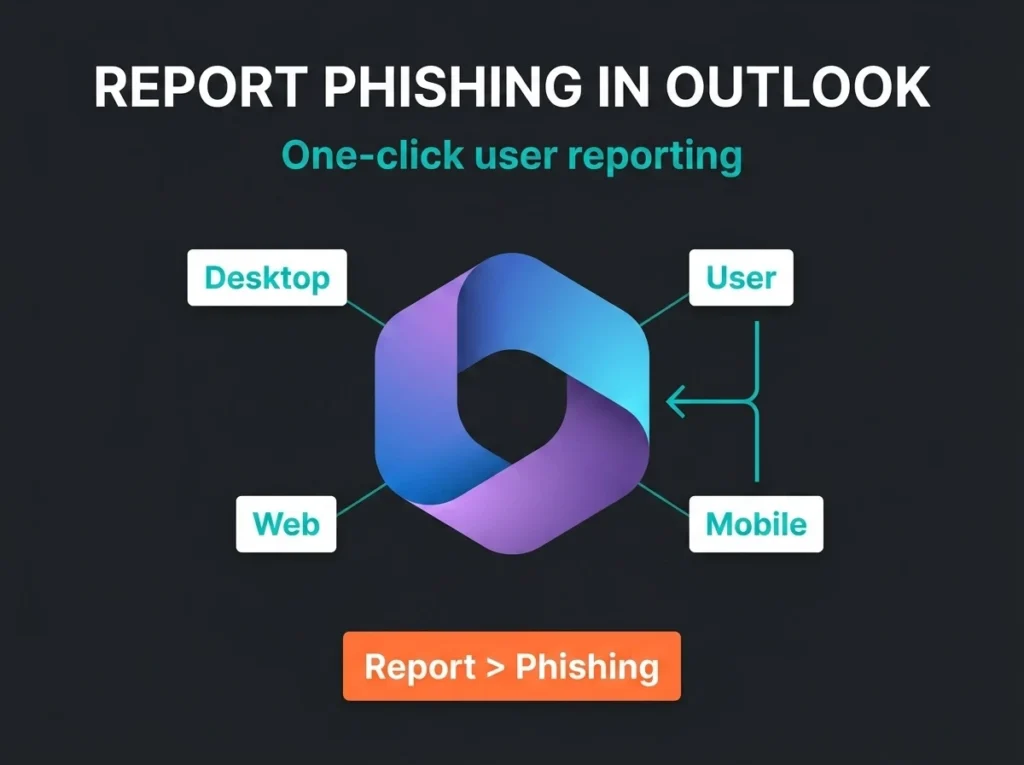
- One button, one habit. In Outlook for Windows, new Outlook, and Outlook on the web the flow is Report then Report phishing; on iOS and Android it is Report Junk then Phishing.
- The button beats forwarding to IT. Forwarded mail loses headers and context; the built-in report keeps the original message intact for Defender workflows and the Submissions page.
- Admin config is half the job. User reported settings decide whether reports go to Microsoft, a monitored reporting mailbox, or both, and that mailbox must be flagged as a SecOps mailbox.
- Close the loop or reports dry up. People stop reporting when it feels like shouting into the void; even a short monthly note about caught campaigns keeps rates up.
- The stakes are real. Microsoft says phishing or social engineering initiates 28% of breaches and AI-driven phishing is three times more effective than traditional campaigns.
How to report phishing in Outlook
In supported Outlook clients, select the suspicious message, choose Report, and then choose Report phishing. Microsoft shows this flow in its admin documentation for the built-in Outlook reporting experience and in its end-user support guidance for Outlook.com and the mobile apps.
Short answer: In Outlook for Windows, new Outlook, and Outlook on the web, open the message or highlight it in the message list, select Report, then select Report phishing. On iOS and Android, open the message, tap the menu, choose Report Junk, and then choose Phishing.
| Outlook version | What the user does | What usually happens next |
|---|---|---|
| Classic Outlook / new Outlook / Outlook on the web | Select message > Report > Report phishing | Message is submitted based on your tenant’s user reported settings |
| Outlook for iOS / Android | Open message > menu > Report Junk > Phishing | Message is reported and removed from the inbox |
| Tenants with Defender reporting enabled | User clicks the built-in report option | Report can go to Microsoft, a reporting mailbox, or both |
What changes when users click the phishing report button
Reporting a message is not just a training exercise. In Microsoft 365, a reported message can feed Microsoft analysis, your internal reporting mailbox, and your Defender investigations workflow depending on how the tenant is configured. Microsoft documents this in the User reported settings article and the Report phishing and suspicious emails in Outlook for admins article.
That distinction matters. A lot of teams assume the button just moves the email to Junk. It can do more than that. Admins can configure whether reported messages go to Microsoft only, to a reporting mailbox only, or to both. They can also review reported messages in the Microsoft Defender portal at the Submissions page. If you care about spotting patterns early, that reporting path is where the value shows up.
I would not overcomplicate the rollout, though. The best version for most SMBs is boring on purpose: enable the built-in experience, route copies to a monitored reporting mailbox, and make sure somebody actually reviews what comes in.
Step-by-step instructions by Outlook client
Outlook on the web and new Outlook
Microsoft’s current documentation shows the same basic flow in the modern Outlook interface. Users select the suspicious email, click Report, and choose Report phishing. If the tenant uses the built-in Microsoft reporting experience, the message is submitted using the organization’s configured path.
This is usually the easiest place to train people because the button is visible in the toolbar. If you run security awareness sessions, use screenshots from your own tenant. Microsoft changes labels and placement often enough that generic slides age badly.
Classic Outlook for Windows
The reporting path is similar in classic Outlook. Users can select one or more messages, choose Report, and then choose Report phishing or Report junk depending on the case. Microsoft documents the built-in Report button across supported Outlook versions in its admin article.
One practical note from real deployments: if your users still rely on ribbon-heavy classic Outlook, train them on the exact button name they will see. Saying “use the phishing button” sounds obvious to admins. End users need “click Report, then Report phishing.” Small difference, better adoption.
Outlook mobile on iPhone and Android
Mobile reporting uses a slightly different path. Microsoft’s mobile support article says users should open the message, tap the menu in the top right, choose Report Junk, and then choose Phishing, Junk, or Block Sender as needed.
That detail is worth calling out in the article because many “how to report phishing in Outlook” guides bury mobile steps at the bottom or skip them completely. For frontline teams who live in mobile email, that is the part they actually need.
Why the built-in button is better than forwarding emails to IT
Forwarding suspicious mail to the helpdesk feels harmless. It is also messy. Headers can change, context gets lost, users forget to attach the original message properly, and the security team ends up sorting screenshots instead of evidence. Microsoft built the reporting path so the original message can be handled in a way that fits Defender workflows.
There is another benefit: consistency. When users know one reporting action works everywhere, adoption goes up. When the process differs by device, department, or mailbox type, usage falls apart fast. We see this most often after mergers or tenant cleanups, where three different reporting habits survive longer than the old mail migration project.
If you want more phishing reports, do not ask users to make judgment calls about where to send suspicious mail. Give them one visible button in Outlook and one sentence of training.
How admins should configure phishing reporting in Microsoft 365
The user button is only half the job. Admins still need to decide where reports go and who will review them. Microsoft’s User reported settings documentation says you can configure the built-in Outlook reporting experience so messages go to Microsoft, a reporting mailbox, or both. The same page also notes that the reporting mailbox should be identified as a SecOps mailbox so user reported mail does not get mishandled by other controls.
In the current Microsoft Defender portal, the setting path is Settings > Email & collaboration > User reported settings. Microsoft also provides a direct URL for that page in its documentation. That portal naming matters because older blog posts still refer to older admin views, and those directions waste time.
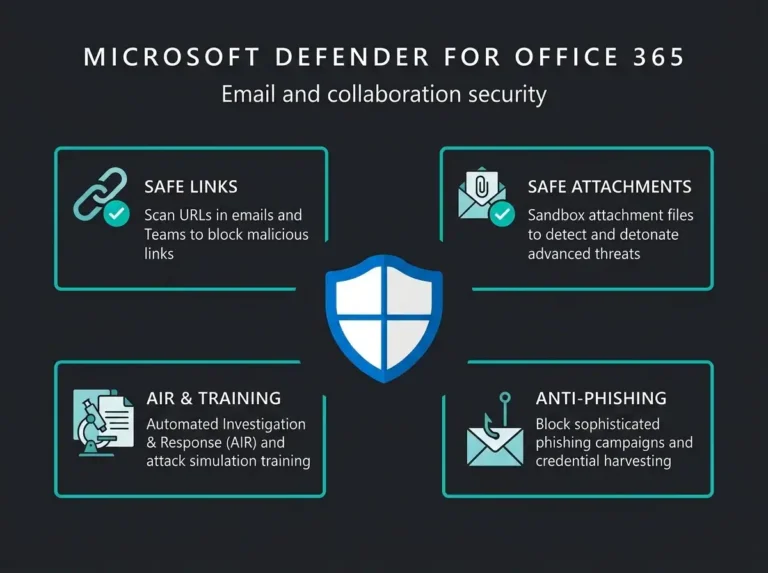
For organizations using Defender for Office 365, this is where the reporting process starts to earn its keep. Messages can be reviewed on the Defender Submissions page, and your team can spot repeat lures, executive impersonation attempts, or supplier fraud themes sooner than they would through manual inbox triage alone.
Common mistakes that break the reporting workflow
The button exists, but nobody trained users on it
This is the classic one. The feature is enabled. The security team assumes people will find it. Nobody does. A 90-second training video beats a five-page policy every time here.
Reports go to a mailbox that nobody watches
If you choose mailbox-only routing, somebody has to own it. Otherwise you have created a dead letter queue for phishing reports. That sounds harsh, but it is what happens.
The article or runbook uses outdated Microsoft portal names
Microsoft renames and reshuffles portals constantly. A guide written around old compliance or Defender navigation can look polished and still be wrong. For this topic, current Microsoft Learn pages are the safer source than generic blog posts.
Users are told to report every weird message, but nobody closes the loop
People stop reporting when the process feels like shouting into the void. If you can send automatic feedback, or even a short monthly note saying “these reports helped us catch X campaign,” reporting rates tend to hold up better.
Where this fits into a wider email security plan
Teaching users how to report phishing in Outlook is useful, but it is not the whole control set. You still need solid mail filtering, mailbox hardening, identity controls, and incident response around compromised accounts. If you want the larger picture, our Office 365 email security guide covers the protection stack in more depth, and our spoofing vs phishing breakdown helps users understand what they are looking at.
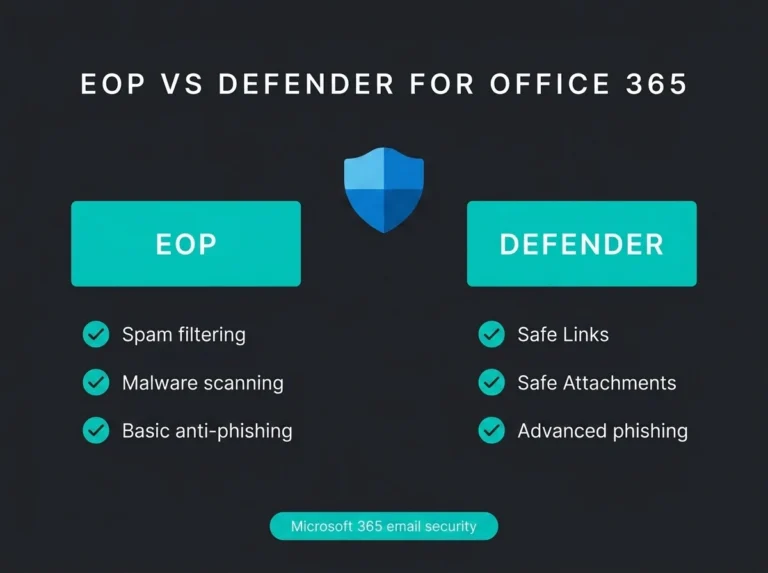
For Microsoft-first teams, the most useful stack usually includes Exchange Online Protection, Defender for Office 365 where appropriate, Conditional Access, and a clear reporting workflow. You do not need a perfect SOC to start. You need a process people will actually use.
If reporting volume suddenly spikes, treat that as intelligence, not noise. Sometimes it means a campaign is underway. Sometimes it means awareness training finally landed. Either way, it tells you something worth checking.
Knowing how to report phishing in Outlook is a small user action with outsized operational value. It shortens investigation time, preserves message context, and gives Microsoft 365 security teams better visibility into what users are seeing first.
Need help tightening the rest of the mail stack?
If your team is relying on ad hoc phishing reporting, there is a good chance other parts of the mail stack need attention too. Falconer Security helps Microsoft 365 organizations review reporting workflows, anti-phishing settings, identity controls, and the broader user-response process. The natural next step is an email security assessment or a broader Microsoft 365 security assessment.
FAQ
How do I report phishing in Outlook desktop?
In supported Outlook desktop clients, select the suspicious email, click Report, and choose Report phishing. The exact placement can vary slightly by client version, so use Microsoft’s current Outlook guidance or your own tenant screenshots for training.
How do I report phishing in Outlook mobile?
On Outlook for iPhone or Android, open the message, tap the menu in the top right, choose Report Junk, and then choose Phishing. Microsoft’s mobile support article documents this path.
Does reporting phishing in Outlook send the message to Microsoft?
It can. Microsoft says admins can configure user reported settings so reports go to Microsoft, to a reporting mailbox, or to both. The final behavior depends on your Microsoft 365 tenant configuration.
Where do admins review reported phishing emails in Microsoft 365?
Admins can review user reported messages in the Microsoft Defender portal on the Submissions page. User reporting options are configured under Settings > Email & collaboration > User reported settings.
Is reporting phishing in Outlook enough to stop email attacks?
No. Reporting helps your team react faster and improve visibility, but you still need layered email security controls such as Exchange Online Protection, Defender for Office 365, MFA, and mailbox monitoring. It is one useful control, not the whole defense plan.